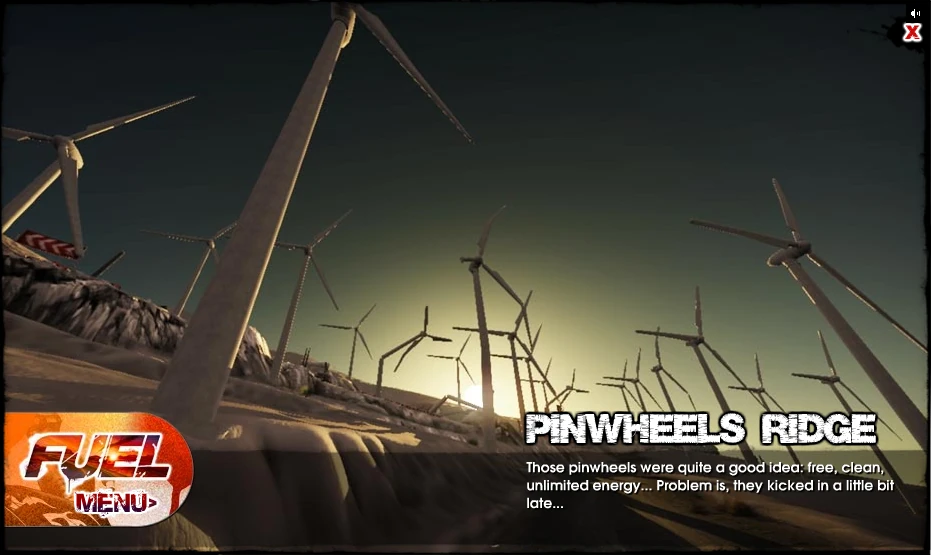
Any Difficulty ... Horsefire Aircraft Helmet Design, Challenges Doppler
The Bullfrog can chew through this on Legendary. While the Tiger Shark may seem like a good choice due to its higher top speed, a) the speed only comes in handy on roads, b) it's not that much higher than The Bullfrog, c) the Tiger Shark's handicapped off-road speed slows it down more overall than what its higher road speed will contribute. So... Bullfrog.
When starting the race, veer to the right in order to hug the shoulder of the road and avoid a pile up of jackasses on some road debris. If you can slip by 1/2 the crowd while they're clunked up, then your life will be easier. Just keep following the trail between checkpoints, and try to squeak by competitors as you can. You might be tempted to bee-line to the 2nd check-point after passing through the 1st, however, you should stick to the GPS route. It will put you on a few good roads to gain speed on instead of plowing off-road in the weeds. There are plenty of mandatory off-road bits, so just follow your GPS and shoot for the holes in the forest. Not a whole lot of short-cuts, so just some good, solid driving will win the race.
No Brains Allowed
Circuit (3 Laps)
9 Entrants
Motorcycle / ATV
Dirt & Off-Road
Each Difficulty ... +1 Star, +2540 FUEL
Any Difficulty ... Flaming Gasmask Design, Liveries Doppler
If you have the Komodo then you can blow this one up on Legendary farily well. If not, then the Dustgrinder or perhaps the Shuriken can make do. The Dustgrinders stiff cornering may make it a bit tricky and the Shuriken's lack of top speed will having you fighting off competitors.
From the start, just follow the checkpoints. You can swerve towards them to ramp off hills and such to aim for them. There will be a few surprise bumps in the road. These can make you lose speed while stuck in the air, but some are unavoidable. Same with several ramps. You'll need to be careful on a downward hill heading towards a checkpoint needing a tight turn. You can easily overshoot your turn. It's better to let off the gas about 1/2 way to that checkpoint, and then turn. Should be able to make it pretty easily. Towards the end there's a nasty bunch of trees in the way. Veer towards a gap to the right where it looks like you'll go through 2 big trees and run right into a big bush. The bush is insubstantial, and you'll go right through it. There's nothing behind it, so you have smooth sailing to the checkpoint. You can also cut the corners pretty tight around the checkpoints and straighten out the course by ducking through a few more trees towards the Finish. By repeating this the next couple of laps you should have a decent advantage to win the race.
Coming in from the Cold
Circuit (3 Laps)
8 Entrants
ATV
Dirt Road
Each Difficulty ... +1 Star, +2500 FUEL
Any Difficulty ... Iron-ringed T-shirt Design, Vista Doppler
The opponents on this one are going to be your biggest challenge, as they love to slam into you, slow down (causing you to get stuck on their tail and slowing with them while not being able to easily turn away), and generally just be a royal pain in the backside (and front-side) to you. The race itself has some sharp turns, but a well-ridden Komodo can handle it on Legendary. There are 2 obvious short cuts you can take. The first is right after you head down the big hill from the start. Slow down, aim to the right, and you'll see a nice little hill you can cross over to avoid having to do the hair-pin around it. You do need to slow down while going over it, though, otherwise you'll fly across the track in the air and land or possibly wreck. It will take a bit of practice (slowing down, sliding right, then sliding over the hill while turning left to position yourself to keep going on the other side). When you pass that you'll shoot down the straight-away and notice another spot where you can just keep going straight instead of swerving left around a pole. It's not major short-cut, but every little bit helps. After rounding the next hair-pin and heading back up the big hill you'll enter a series of tight turns and buildings. It can be confusing seeing where you're going due to the flares, weather and other shit in your way. The course splits left and right, and it's better to go left. All the competitors do, but trying to veer right requires some fancy riding and puts you in a very narrow strip that's easy to bang yourself up on. If you can learn to hair-pin the corners without losing much speed (drop to 1/2 speed before rounding them) and can make it over that small hill on the first short-cut, the race will be tight but fairly winnable.
Geographically based on the Wind River Mountain range in western Wyoming.
Dwarfs Rainier Peak in snow mass.
Really leaves little space for extra land with all the snow
The much forgotten Dinwoody Lake to the north provides some of the most beautiful sceneries in the whole game.
Landmarks
If you complete Under the Bridge, there is a bridge called Hawkeye Bridge, go there (GPS helps *a lot*... not), then you will find its been broken... like Chaos Bridge in Stargazers' Heights, yet somehow still standing in a physically implausible way, with no means of support along its span. This bridge's drop rivals, but does not beat, Chaos Bridge.


